Create vendor or customer accounts
Scopevisio uses role-based contact management. In this context, customer and vendor are special roles that have a general contact as their basis. A contact can be both a customer and a vendor. If you create a customer or vendor, you automatically create a general contact.
You should therefore check whether a corresponding contact already exists. If so, it is advisable to simply assign the new role (customer or vendor) to the existing contact via Convert .
Use Scopen to check whether the contact already exists. This can of course also be done via the contact management. You can also create a new contact there immediately.
For a saved contact, select the Convert button and add the desired role. Here, the customer role is added for a contact that is already a vendor.
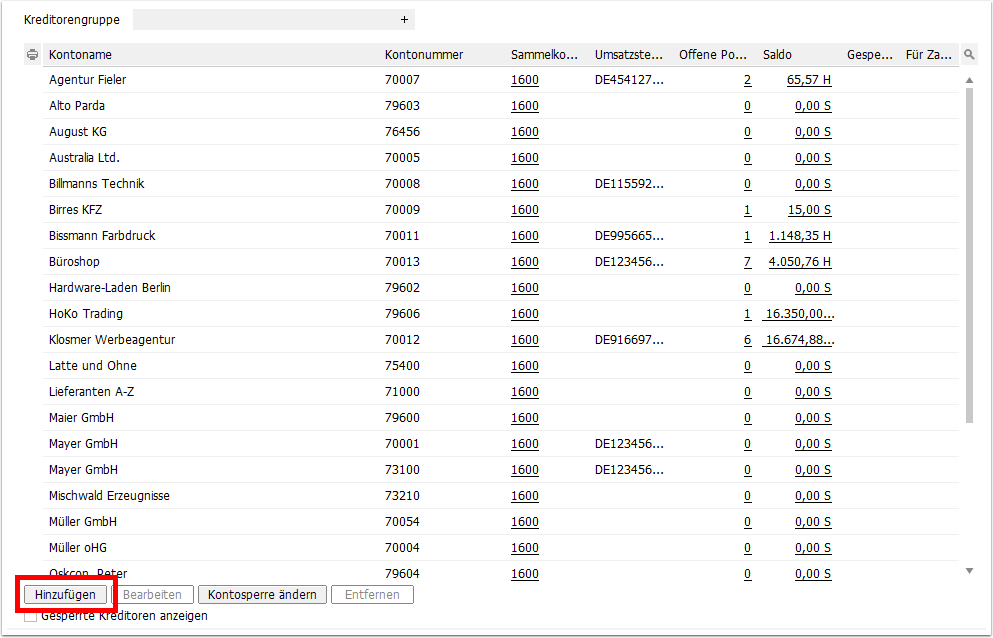
You can of course also go to Master data > Manage accounting > Debtor master or Vendor master. An overview opens. Click on Add below.
To create a person account during another process, you can use the plus button in the menu bar.
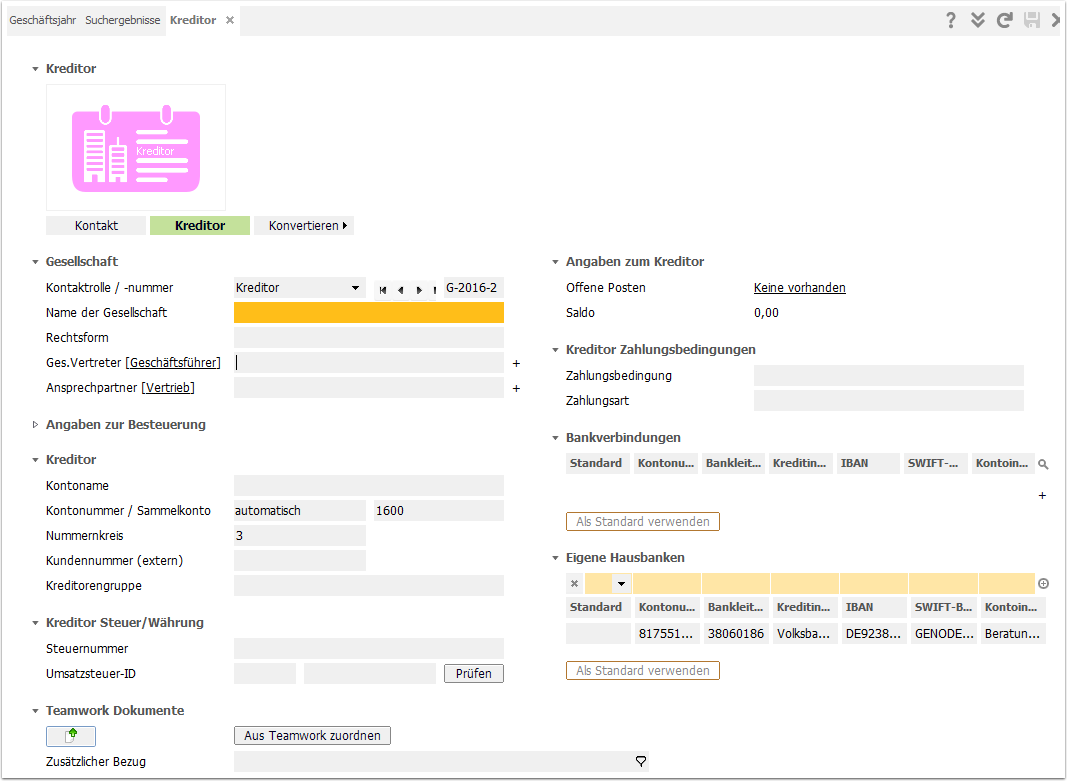
As the creation of debtors and creditors works largely in the same way, only the form or the creditor role is shown here.
First enter the name of the company. You can do this in the Vendor role in GO Company or you can switch briefly to the Contact role (General).
When you slowly fill in the name of the company, existing contacts are displayed. If you type at least 7 characters, you will also receive suggestions from the Creditreform knowledge.
Set personal and collective account
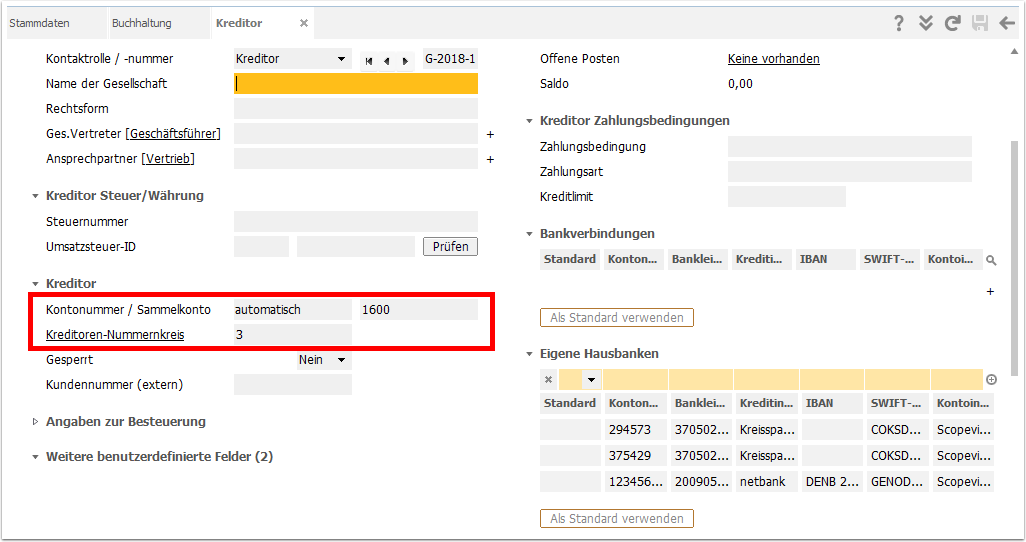
When creating (saving) a debtor or creditor, the personal account is automatically determined from the number range selected below if this does not provide for manual assignment.
If the collective account, i.e. the corresponding general ledger account, usually trade receivables or trade payables , is not filled in, add it using the selection list.
As soon as the data record is saved, the person account name is generated from the company name, which you can edit. The person account can now be posted to.
Once you have posted to a personal account, you can no longer change the collective account. This also applies if the posting is reversed or the balance of the personal account is zero.
Fill in other recommended fields
You also have a considerable number of possible fields to enter responsible supervisors, terms of payment, dunning settings and bank details.
If you scroll further down, you can see the transaction data associated with the customer or vendor. This includes documents, comments, tasks, SEPA mandate management and, in the case of debtors, the billing documents.
The following additional fields (business object/field) are recommended for vendors:
GO Taxation details > VAT ID no. (1)
When saving, GO Vendor tax/currency > VAT ID is filled in parallel. (2)
Due to the VAT ID in the master record, many automatisms (rules) for incoming invoices take effect.GO Vendor > Customer number (external) (3)
If the vendor assigns you a customer number, you can enter it here and enter it later when making payment.GO Vendor terms of payment > Terms of payment (4)
You pass on the master data to the open item when posting so that payment is made later at the correct time.GO Vendor terms of payment > Payment type (5)
You pass on the master data to the open item when posting so that you can filter out open invoices with direct debit authorization in the payment run.GO Bank details (6)
The bank details are essential for outgoing payment transactions. Pay attention to a possible different account holder, keyword: assigned claim.


